

Due to reasons… I’ve “adopted” a CR10s that a friend had bought. It was used, and was already well on it’s way to being a janky Printer of Theseus. My hope is to get it up and running and put through it’s paces before the holidays so I can give it back as a gift.
With the linear rail upgrades, I picked up the hardware and it’s on it’s way; which got me looking at how to do the upgrade, which I have mostly figured out; the question I’m having is, most upgrades seem to place the rails on 2020 extrusions sitting on top of the base frame- same as how the original y axis 2040’s were designed.
Which raises the question- why not lower it so the 2020 rails are even with the frame, with the mgn12 rail sitting on top? Like so:

The short answer I came to is this would necessitate replacing the brackets for the y stepper motor and it’s idler; but it should be possible. the easiest solution would be something like:
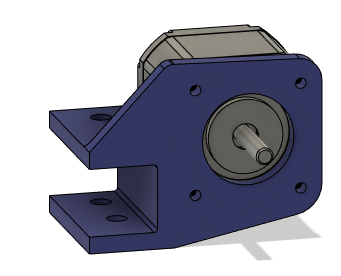
which raises the question: are printed parts rigid enough to hold against the tension on the belts? The motors can’t handle too much tension anyhow, and the printer already has the screw-cap tensioners for x and y printed that seem to have been holding up well.
has anybody replaced the OG metal bracket on the back? does it stress and need replacing often, or is it fairly reliable (and above all, consistent,)
Check the mk3s printable parts , every motor on the mk3 is mounted using printed brackets, abs/Asa holds up really well and honestly petg does as well, I had a petg failure on my x axis after doing days of enclosed abs printing which says a lot considering it was easily 50+ deg c in the enclosure. I’ve since put probably a few thousand hours since rebuilding with abs and have had no issues with the printed parts.
Vorons also use printed motor mounts and they also hold up with high enclosure temps for extended periods