Then why weren’t there loads more “unmoderated” subs of different categorize blocked?
If it was just a glitch, I suspect that the affected subreddits would better represent a random distribution of topics than what we witnessed.
Then why weren’t there loads more “unmoderated” subs of different categorize blocked?
If it was just a glitch, I suspect that the affected subreddits would better represent a random distribution of topics than what we witnessed.


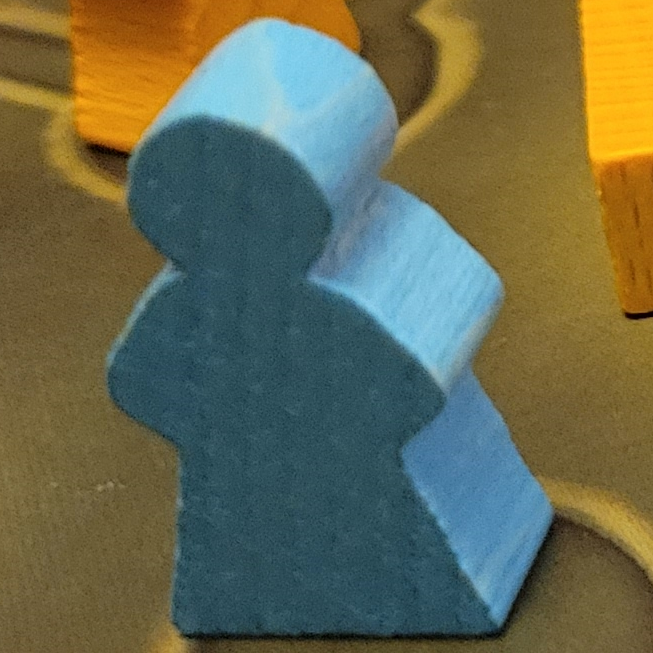
I’ve of my favorite mechanics comes from Unearth, specifically their catch-up/bad luck mitigating mechanic.
In a game where the goal is to have the winning die on a ruin as a cumulative threshold is reached, any dice rolled under 3 nets you a stone, which can be used to build you own ruins.
Roll poorly enough and you won’t fall too far behind. Have the worst rolls every time and there’s a good chance you can win without actually capturing a single ruin card.


Costliest blaze in history so far…
-ftfy


Nah, icicles are occasionally sharp…


I’m going to start calling them Tesla hatchbacks.


Considering that a US hospital will charge you a few grand for even looking in their direction these days, $2,500.22 for something serious, like seizures, sounds like a steal :(


Ideally, it would be the same word over and over, so that we can trick the AI into ending all sentences with the word. Bonus points if it is the word “buffalo”, since it can from a grammatically correct sentence.
Buffalo buffalo Buffalo buffalo buffalo buffalo Buffalo buffalo
Damn, has it been that long already!?
That’s the ‘soon’ I was referring to, I guess. He’d been working on another game in the same universe when he got the rights back.
Mentioned in this thread.
And I believe the designer got the rights back fairly recently, so I’m hoping for more of this!


Which ever episode it was were the main love triangle chick flipped her car in broad daylight on a mostly empty road with no traffic.
I realized that almost none of these characters would have survived the initial outbreak.


I’ve had a lot of fun with Book of Demons, which is a bit more simplified, but really respects whatever amount of time I have to put into it!
Or worry about all of the asbestos, lead, and formaldehyde -laced building materials that were all of the rage in previous decades.


The only things in that range around these parts are going to be burnt out husks of a house with a cheery “fixer-upper” in the listing title…


Doesn’t matter how similar it looks though.
The only way to tell is to open up both models and look at individual points of the 3d mesh. If their positions in 3d space match up to, say the hundred-thousandth of a decimal, then it is a copy.
But if the model was scaled or rotated or whatever, there would be no way to prove a case because there wouldn’t be a match.
The same thing was done to prove games was lying about copying models from previous games when they claimed that it was too difficult to add all previous monsters into different games because their converter tool was giving them issues.


Did they say how they analyzed the models? Because looking at the silhouette and other similarities isn’t enough to prove plagiarism when it comes to 3d models.
What you have to do is open up both the original and the suspected copy models and select a couple of similar vertices (the points that give the model geometry) and compare the position down to the decimal place. If they are even a little off, then it isn’t a copy.


It’s worse because they are a suicidal death cult.
They wish to bring about their version of the end of the world and are doing everything they can to make it happen. All the while, they are dragging the rest of the world down with them.


Didn’t even have to be the US.
Israel has been known to threaten US politicians with financially backing their political opponents unless their Zionist line is toe’d.


God forbid Federal Highway Administration or the Department of Transportation actually work on removing distractions along highways…
I’m aware of what a glitch is. What I’m saying is that they are already targeting these specific subs regardless of their moderation status. The only ‘glitch’ here was that they got caught pushing an agenda.